
en:vscode:tutorial
Table of Contents
Install VCI script development environment
In order to create VCI script, you need to complete the steps in Installation of VCI development environment and installation of following programs.
Download required files
VSCode
Download and install VSCode from VSCode.
VSCode is an open source text editor provided by Microsoft. (Wikipedia)
We will be using this for the creation of VCI script.
Enabling VSCode Intellisense (input assistance)
Enabling Lua Intellisense
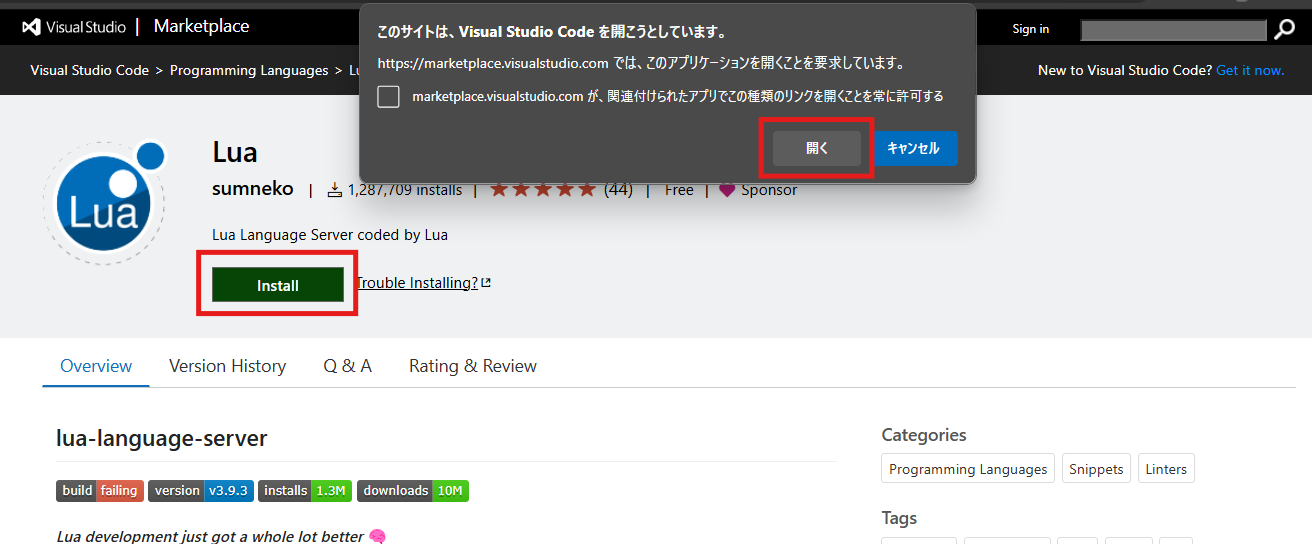
Open Visual Studio Marketplace and select Install.
If a dialog appears asking for permission to open in VSCode, select Open.
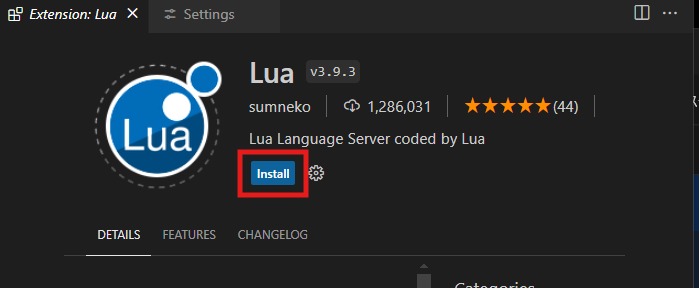
When VSCode opens, select Install.
This will enable Lua Intellisense.
Enabling VCI Intellisense
Before continuing with following steps, import the VCI into Virtual Cast and spawn it at least once.
Following procedure requires the path and the file that are created during the execution of Virtual Cast.
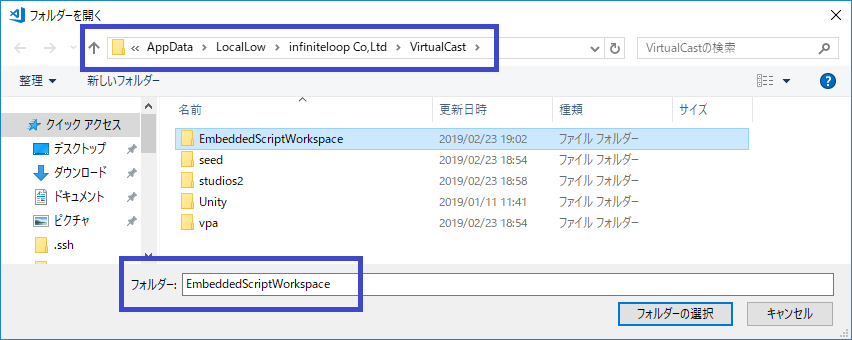
1. Launch VSCode and open the following folder by selecting [File] > [Open Folder…].
C:/Users/__USER_NAME__/AppData/LocalLow/VirtualCast/VirtualCast
2. Open “EmbeddedScriptWorkspace” folder inside the path specified above.
Note: You have to replace the _USER_NAME_ with the User Name set for your computer.
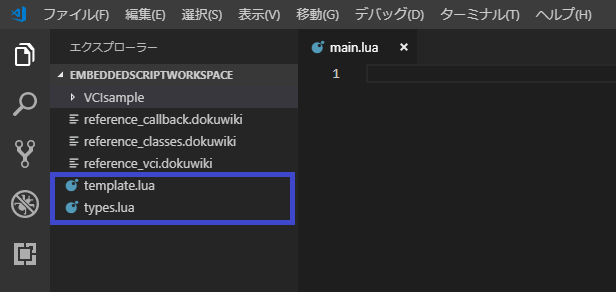
If you could see [Types.lua] and [template.lua] loaded into VSCode, the VCI Intellisense is successfully enabled.
en/vscode/tutorial.txt · Last modified: 2024/07/05 16:58 by numa